Tutorial
Note
Did you find this article confusing? Edit this file and pull a request!
To start with, you will need GitHub, Pypi , TestPyPi and Codecov account. If you don't have one, please follow the links to apply one before getting started on this tutorial.
If you are new to Git and GitHub, you should probably spend a few minutes on some of the tutorials at GitHub Help
Step 1: Install Python Project Wizard (ppw)
We'll need ppw to generate a skeleton project. Following the instructions to install ppw on to your machine.
1 | |
If virtual environment is used during your developement, install ppw as global.
Step 2: Build a virtual environment for your development
It's best practice that always developing your project in dedicated python virtual environment. So let's start from creating a virtual environment now:
You may choose either annaconda or virtualenv, annaconda (actually miniconda) is preferred though.
1 2 3 | |
Choose python version on your own decision. Be noticed that we're now at a virtual env called mypackage
Step 3: Generate Your Package
Important
Make sure run the following command under mypackage virtual env.
Now it's time to generate your Python package.
Run the following command and feed with answers:
1 | |
Finally a new folder will be created under current folder, the name is the answer you
provided to project_slug.
At last step, it'll ask you ppw should performe initialization for you. If the answer is 'yes', then ppw will:
- install pre-commit hooks
- install poetry
- install necessary dependencies which required by test and documentation. These deps will include pytest, tox, mkdocs and etc.
- lint your files has just been generated.
The project layout should look like:
1 2 3 4 5 6 7 8 9 10 11 12 13 14 15 16 17 18 19 20 21 22 23 24 25 26 27 28 29 30 31 32 33 34 35 36 37 38 39 40 | |
Here the project_slug is ppw_0420_01. When you genereate yours, it could be other name.
Also be noticed that there's pyproject.toml in this folder. This is the main configuration file of our project.
You could choose your favorite python version here.
Step 4: Install Dev Requirements
Important
Skip this step if you've answered 'yes' to the question init_dev_env. They're performed automatically if the answer is 'yes'.
You should still be in the folder named as %proejct_slug, which containing the
pyproject.toml file.
Install the new project's local development requirements inside a virtual environment:
1 2 | |
We started with installing poetry, since the whole project is managed by poetry. Then we installed extra dependency need by developer, such as documentation building tools, lint, formatting and testing tools etc.
Step 5: Smoke test
Run the following command now:
1 | |
This will give you a test report and a lint report. You should see no errors except some lint warnings.
Tips
Extra dependencies are grouped into three groups, doc, dev and test for better granularity. When you ship the package, dependencies in group doc, dev and test might not be shipped.
As the developer, you will need install all the dependencies.
Tips
if you found erros like the following during tox runs:
1 | |
Step 6: Create GitHub Repo
Info
Going through step 6 and 7 is tedious. So that's why we provide a bash script -- repo.sh, to help creating repo, setting secrets and publishing your code to the repo automatically.
The script looks like the following:
1 2 3 4 5 6 7 8 9 10 11 12 13 14 15 16 17 18 19 20 21 22 | |
Go to your GitHub account and create a new repo named mypackage, where
mypackage matches the [project_slug] from your answers when running ppw
Then goto repo > settings > secrets, click on 'New repository secret', add the following secrets:
- TEST_PYPI_API_TOKEN, see How to apply testpypi token
- PYPI_API_TOKEN, see How to apply pypi token
- PERSONAL_TOKEN, see How to apply personal token
Step 7: Upload code to github
Back to your develop environment, find the folder named after the [project_slug].
Go to this folder, and then setup git to use your GitHub repo and upload the
code:
1 2 3 4 5 6 7 | |
Where myusername and mypackage are adjusted for your username and
package name.
You'll need a ssh key to push the repo. You could Generate a key or Add an existing one.
Warning
if you answered 'yes' to the question if init_dev_env at last step,
then you should find pre-commit was invoked when you run git commit, and some files
may be modified by hooks. If so, please add these files and commit again.
Step 8: Setup codecov integration
Tips
If you have already setup codecov integration and configured access for all your repositories, you can skip this step.
In your browser, visit install codecov app, you'll be landed at this page:
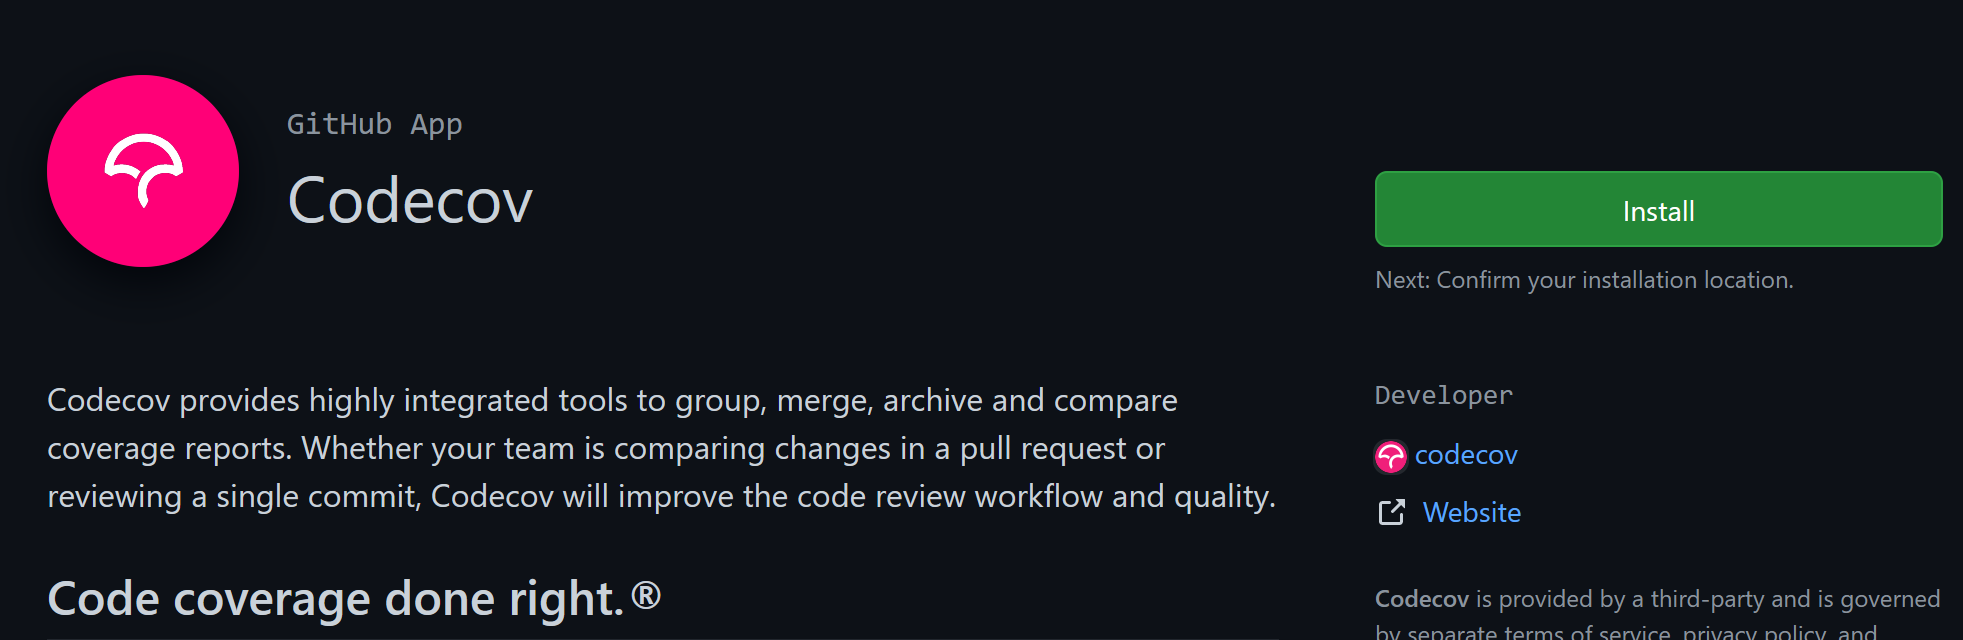
Click on the green install button at top right, choose all repositories then click
on install button, following directions until all sets.
Step 9: Check the CI result
After pushing your code to github, go to github web page, navigate to your repo, then click on actions link, you should find screen like this:
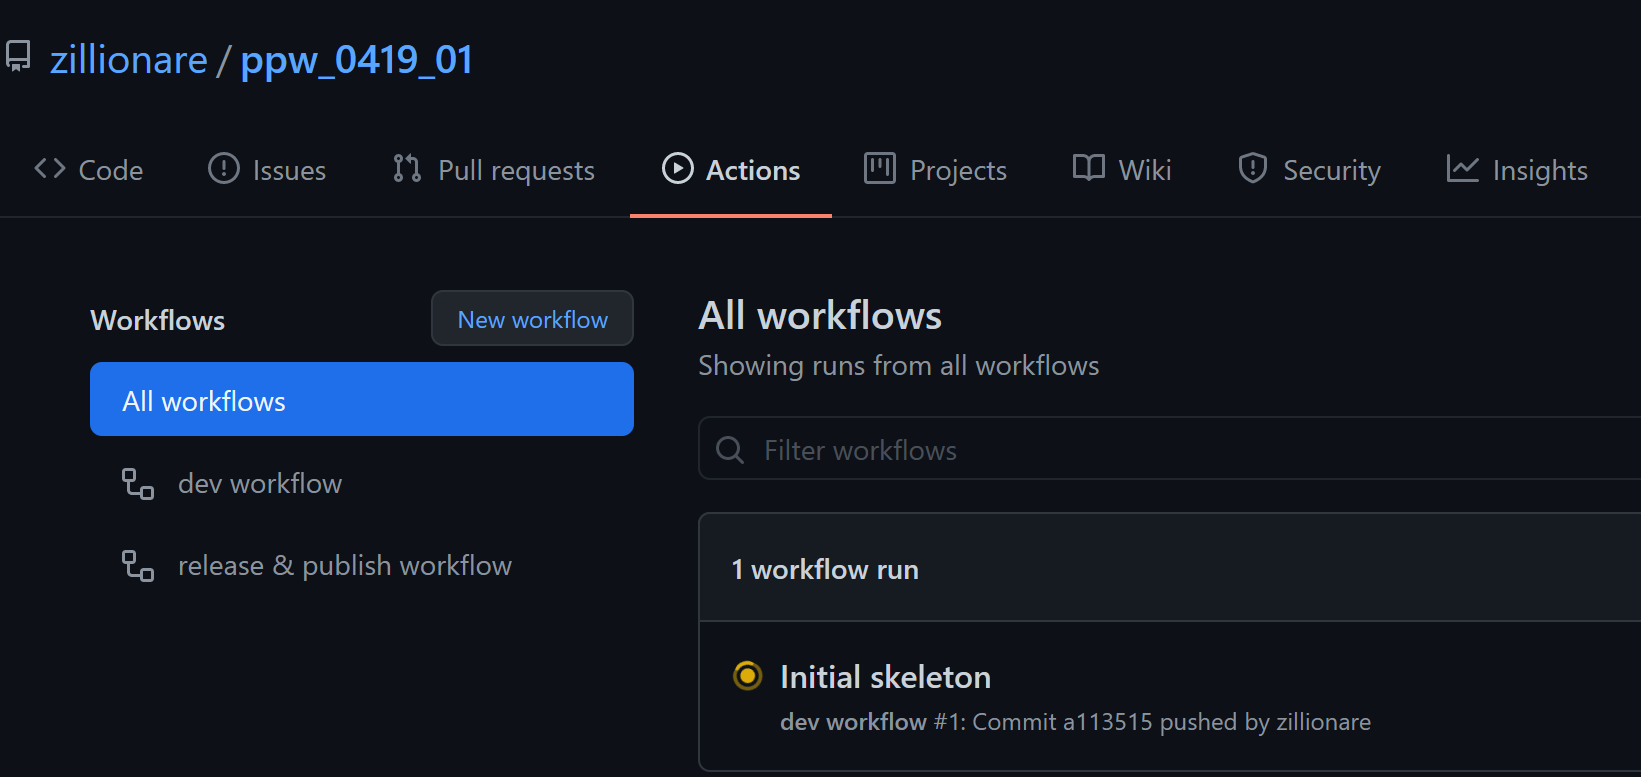
There should be one workflow running. After it finished, go to [testpyi], check if a new artifact is published under the name {{ cookiecutter.project_slug }}
Step 10. Check the documentation
Documentation will be published and available at https://{your_github_account}.github.io/{your_repo} once:
1 2 3 | |
If you'd like to see what it looks like now, you could run the followng command:
1 | |
then check your documentation at https://{your_github_account}.github.io/{your_repo} or you can serve it locally by:
1 | |
then open your browser, visit your dev machine on port 8000.
Info
Though we used mkdocs here, however, in order to support multiple versions of documentation, we actually use mike in github actions.
Important
ppw choose github pages to host your documentation. you need visit https://github.com/{github_account}/{your_repo}/settings/pages to enable it:
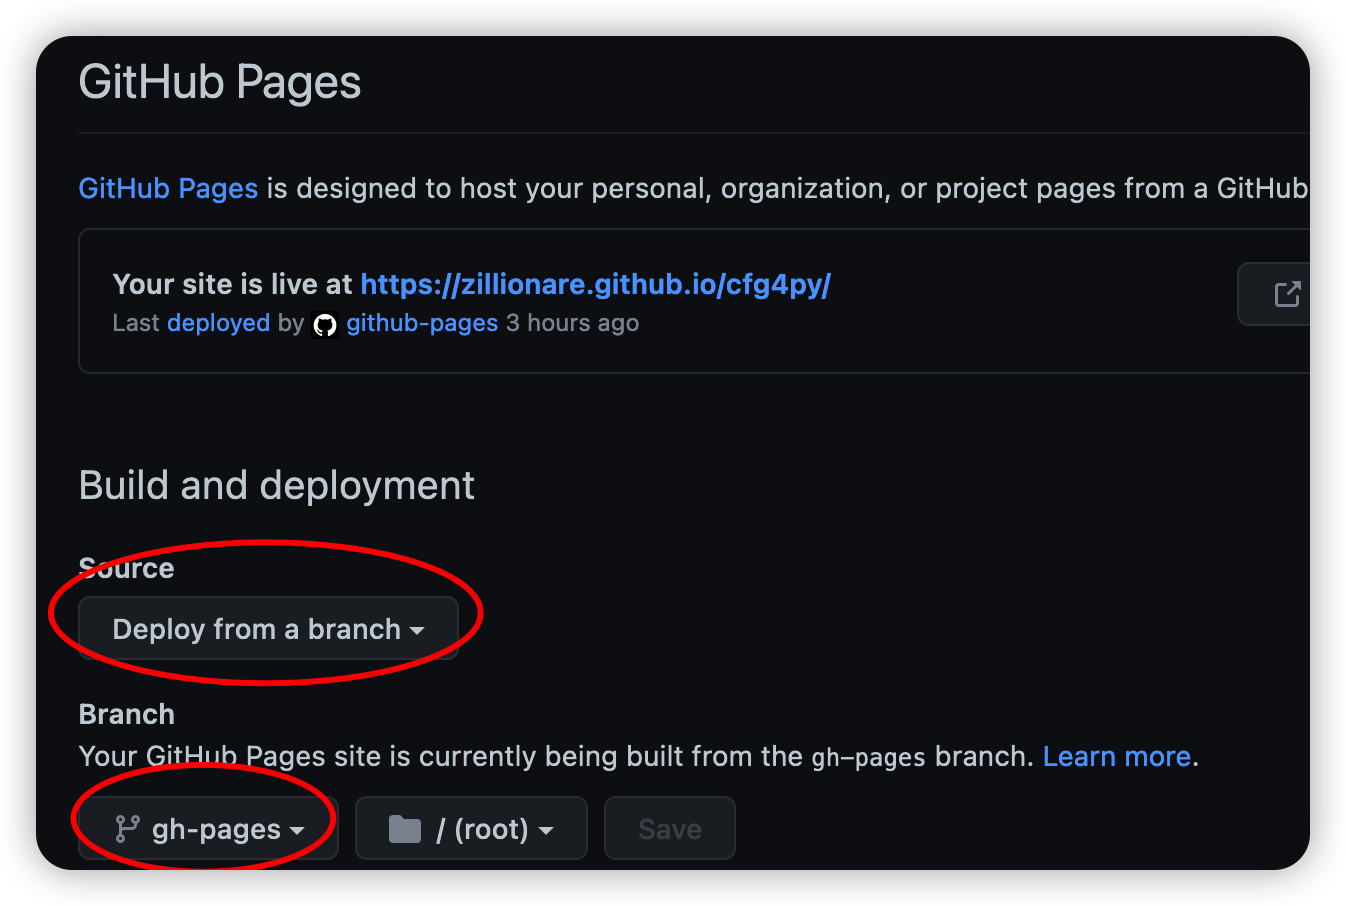
the above pages shows example on how to configure it.
Step 11. Make an official release
After done with your phased development, switch to either of (main, master) branch, following instructions at release checklist, trigger first official release and check result at PYPI.
Step 12. Customization
ppw assumed some settings for you, for example, it choose python version in pyproject.toml and tox.ini. Change accordingly to match you case.
The following section will address how to customize github workflow: You may need to customize settings in workflow. Open .github/workflows/dev.yml:
1 2 3 4 5 6 7 8 9 10 11 | |
1 2 3 4 5 6 7 8 9 10 11 12 13 14 15 16 17 18 19 20 21 22 23 24 25 26 27 28 29 30 31 32 33 34 35 36 37 38 39 40 41 42 43 44 45 46 47 48 49 | |